The watercolor blush trend has taken over both TikTok and real-world runways, proving that a soft, dewy flush can elevate even the most minimal makeup routines. With its airy, painterly aesthetic, it blends art and beauty without requiring formal training or a museum-worthy makeup kit. What makes this technique standout is how wearable and fresh it looks across skin tones and face shapes. Whether you’re heading to brunch or prepping for a night out, this blush trend brings a wash of subtle, natural color that speaks more to emotion than precision.
What is Watercolor Blush?
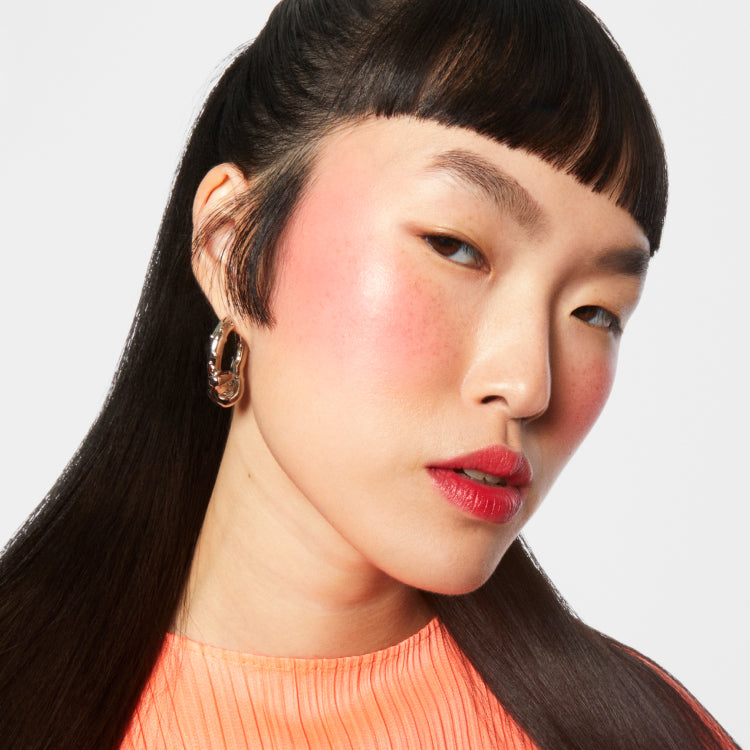
Think of watercolor blush as a softer approach to cheek color. Instead of sculpted stripes or aggressive placement, you’re aiming for a diffused flush that seems to bloom from under your skin. The goal isn’t symmetry or intensity—it’s to mimic the way cheeks naturally glow after a run, a glass of wine, or a moment of bashfulness. There’s no harsh contouring, no dry matte powders, and certainly no rigid brushes. Instead, it’s all about fluid textures and organic blending.
Skin Prep Is Non-Negotiable
Watercolor Blush
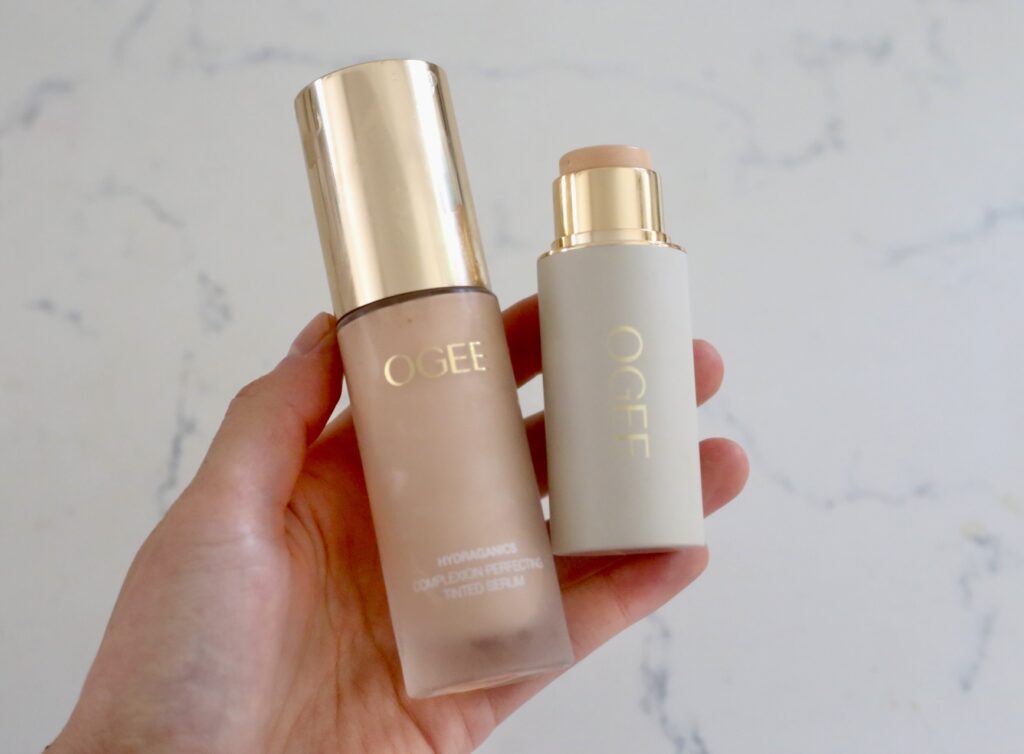
A glowing base makes or breaks watercolor blush. You’ll want a hydrated canvas to ensure seamless blending and minimal texture. Start with a lightweight moisturizer and allow it to fully absorb. Next, go in with a dewy primer or serum-style illuminator on the high points of your cheeks. These products act like watercolor paper—helping pigment grip and melt into your skin. Skip heavy foundation; instead, choose a skin tint or BB cream to even out the tone without masking your natural glow.
Tools of the Trade
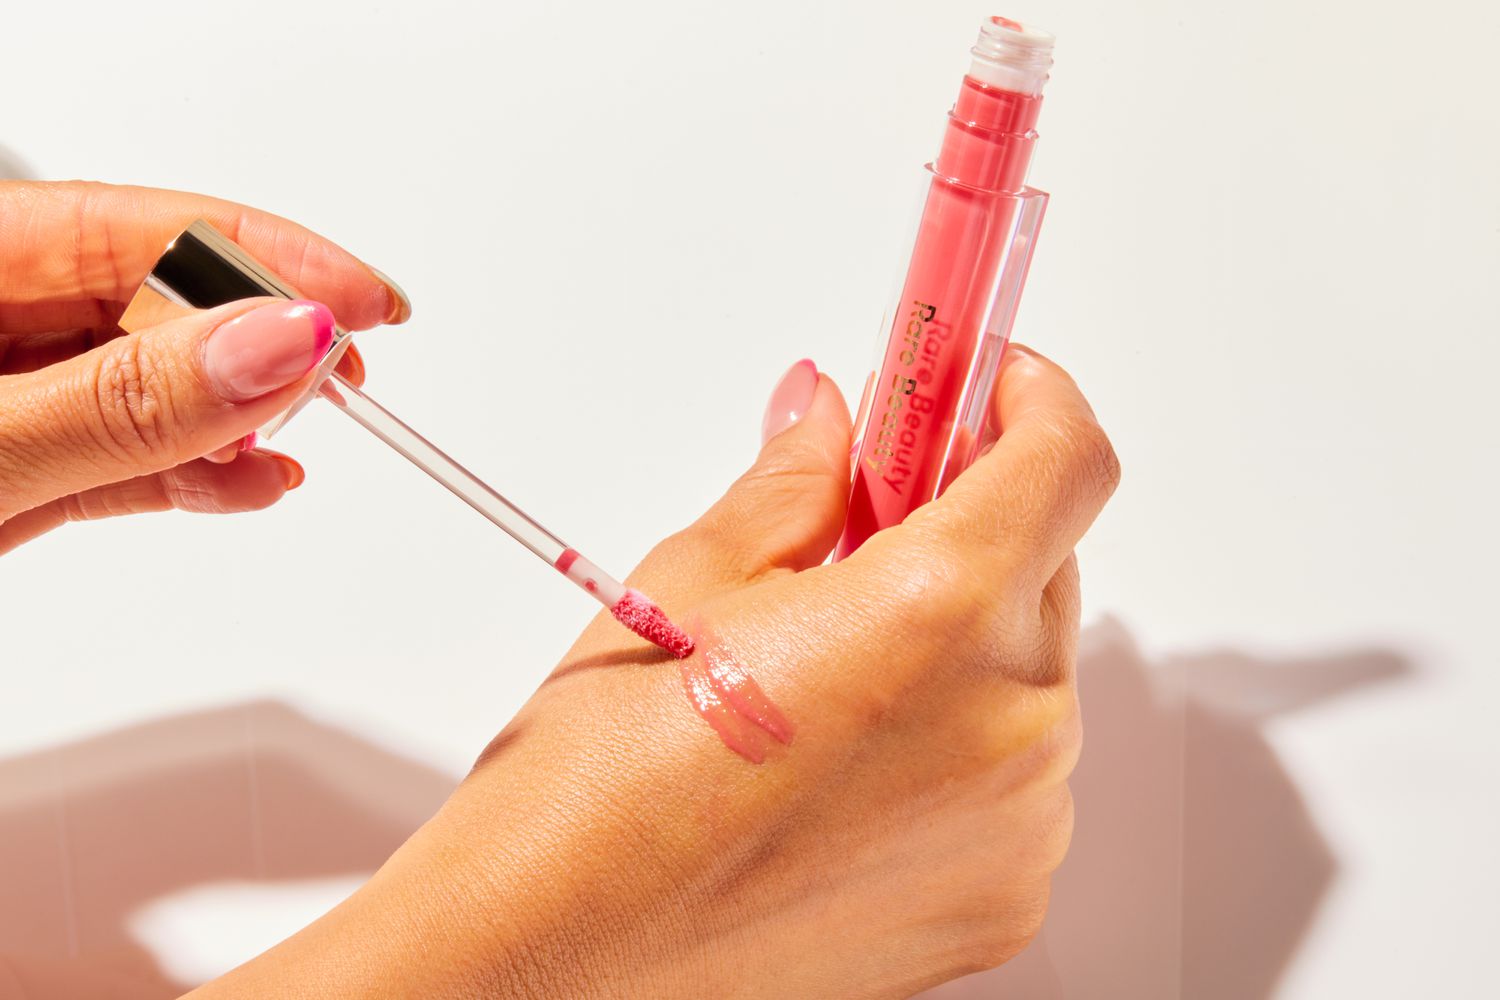
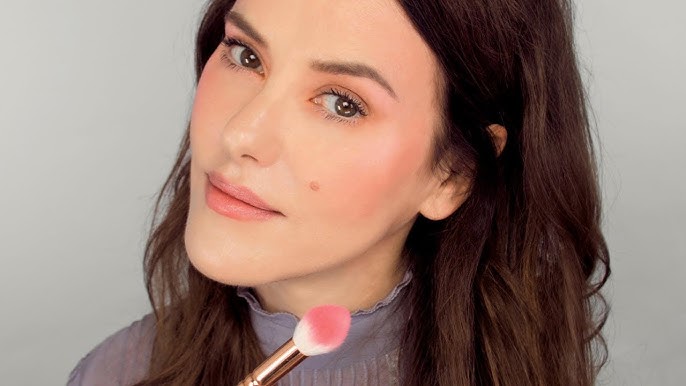
You don’t need an expensive brush set to get this look. In fact, most people find fingers or a damp beauty sponge work best. Cream or liquid blush formulas are key—powders tend to look too defined. Opt for blushes that describe themselves as “sheer,” “dewy,” or “buildable.” These are designed to blend without harsh edges. The best tools in your kit will be:
-
A damp sponge
-
Your ring finger
-
A dual-ended brush with a stippling or buffing side
-
A cream-based blush in peach, pink, berry, or coral
Avoid blush sticks with a dry finish or overly pigmented formulas unless you dilute them with moisturizer.
Placement: The Art of Subtlety
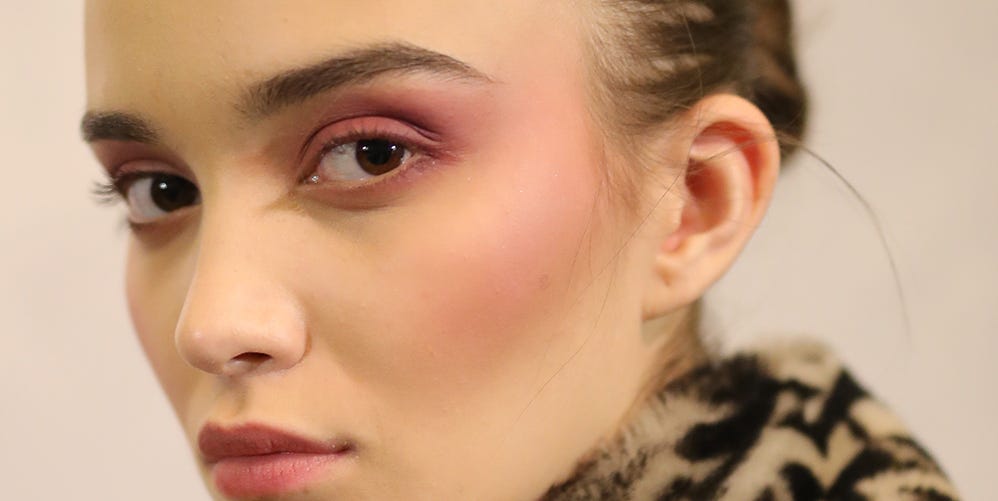
Traditional blush is typically applied to the apples of the cheeks or swept upward along the cheekbone. Watercolor blush doesn’t follow these rules. Think of your face as a canvas. You’re painting with emotion—not geometry.
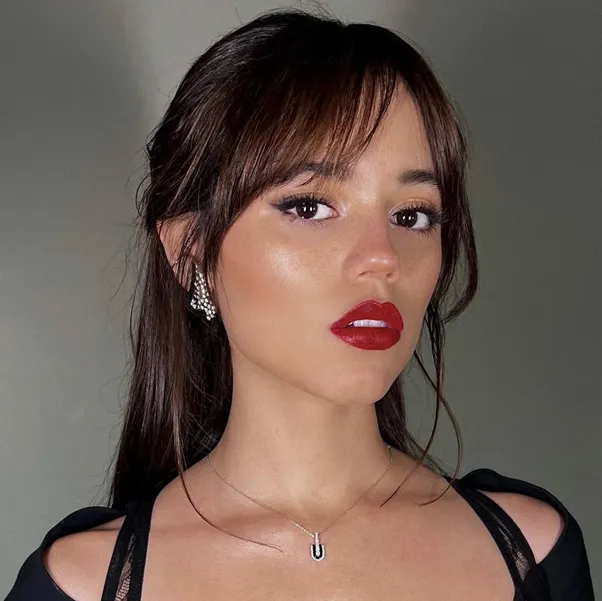
For a youthful, radiant flush, apply the blush on the top part of your cheeks and allow it to bleed subtly into the under-eye area. Use the pad of your finger to pat the color in, and extend it across your nose bridge for that “sun-kissed without the sun” effect. Avoid placing the color too low or too close to the mouth—it drags the face downward.
If you’re feeling experimental, tap a hint of blush onto your temples or blend it slightly into your brow bone. This technique brings cohesion to the overall look, making the blush feel part of your skin rather than painted on.
The Role of Lighting and Texture
Lighting is everything with this look. It’s not about intensity—it’s about radiance. Apply your blush in natural daylight whenever possible. Harsh bathroom lighting can exaggerate colors or reveal blending flaws that aren’t noticeable under softer lighting.
Textures that work best include glossed, serum-based, and gel-cream blushes. If you have oily skin, you can lock in the look with a sheer, finely-milled translucent powder—but avoid mattifying the entire face. The charm of watercolor blush lies in its glow.
Shades That Work on Everyone
Watercolor blush is universally flattering because it’s customizable. Fair skin tones look great in soft pinks, rose, or peach. Medium skin sings with warm corals, apricots, and mauves. For deeper complexions, rich berries, burnt orange, and cranberry shades give the most natural flush.
One tip? If you’re unsure what shade to use, pinch your cheeks and see what color comes up. Try to match or mimic that tone with your blush product. This ensures a natural, personalized finish.
Building Up Without Overdoing It
Start light. Watercolor blush is about gradual buildup. After your first layer, wait a few moments—see how it settles. Your natural oils will bring the pigment forward. If you want more color, repeat the process. Don’t apply too much product at once. Over-blending can also work against you, muddying the look and making the blush disappear.
Keep the Rest of the Face Minimal
To let the blush shine, keep the rest of the face fresh and low-key. A touch of brow gel, dewy highlighter, and a swipe of clear or tinted balm on the lips is all you need. Avoid heavy contour, bold eyeliner, or matte lipstick. The aesthetic works best when everything else takes a backseat to that dreamy cheek flush.
How to Set It for Longevity
Though watercolor blush is meant to be soft, you’ll want it to last the day. If you’re using all cream products, apply a setting mist that has a dewy finish. Spritz a little onto your beauty sponge and press it into the skin. This helps bind the layers together. For an extra flush, you can press a tiny amount of powder blush that matches your cream over the same area—but use a featherlight hand. No cakey vibes allowed.
In case you’re searching for new tools or shades to try, many beauty insiders have pointed toward kiss918 inspired beauty lines that embrace these soft-focus trends.
Embrace Imperfection
There’s no perfect watercolor blush. The beauty lies in how lived-in it feels—blended, soft, a little messy even. It’s expressive rather than polished. Each application looks slightly different, and that’s exactly the point.